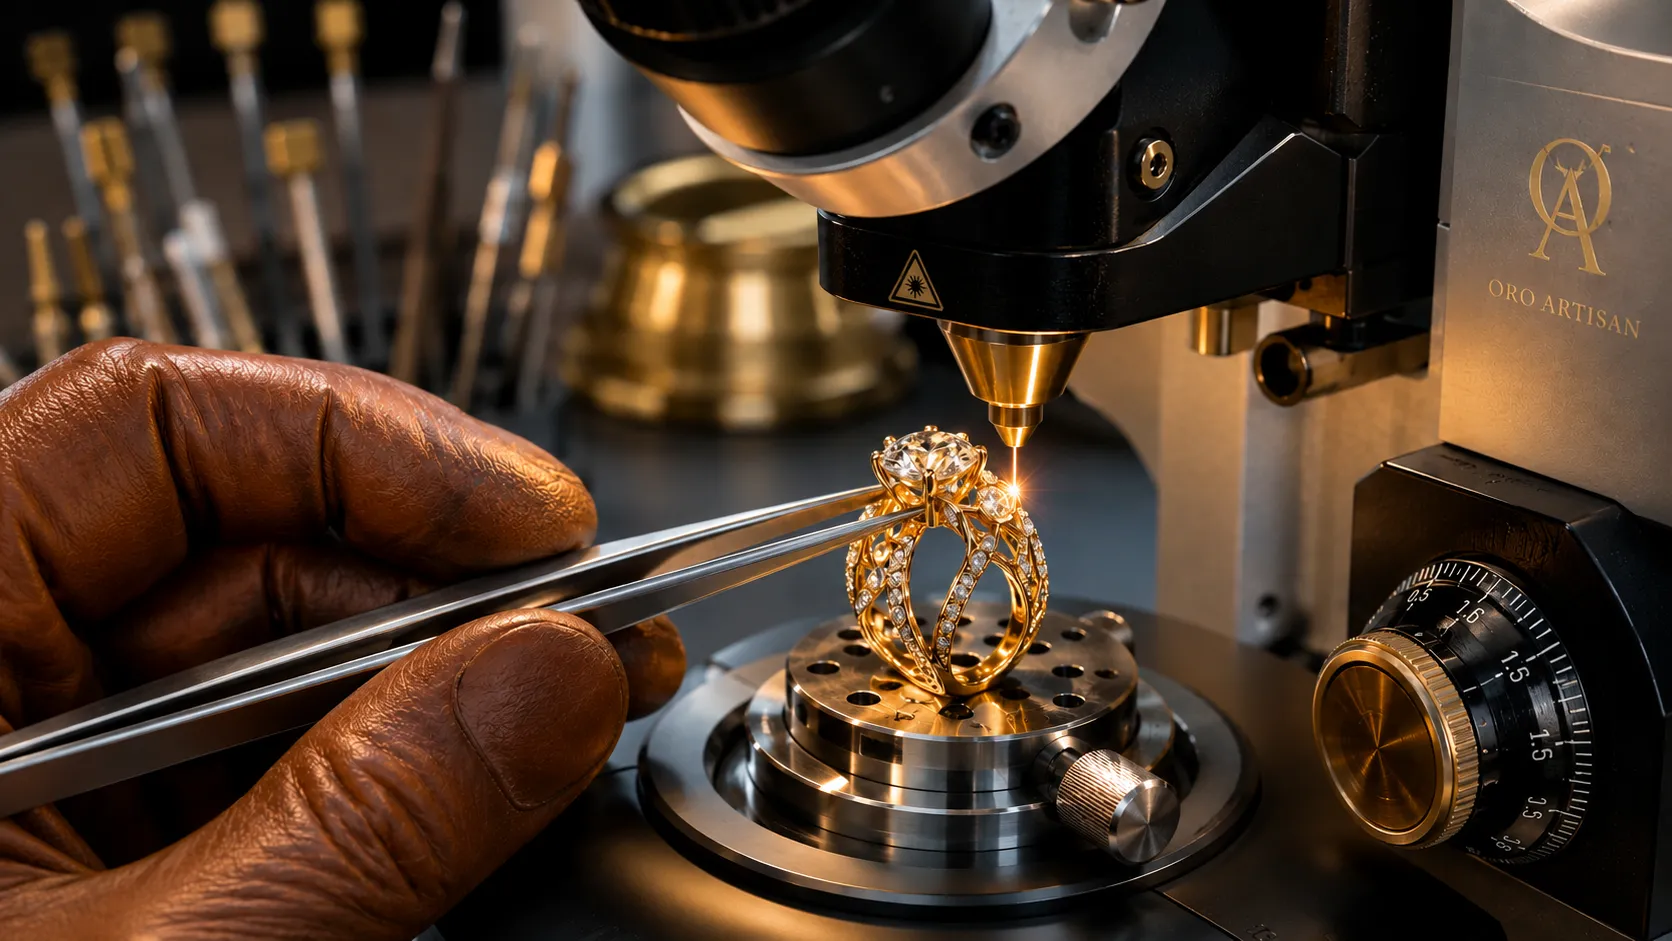
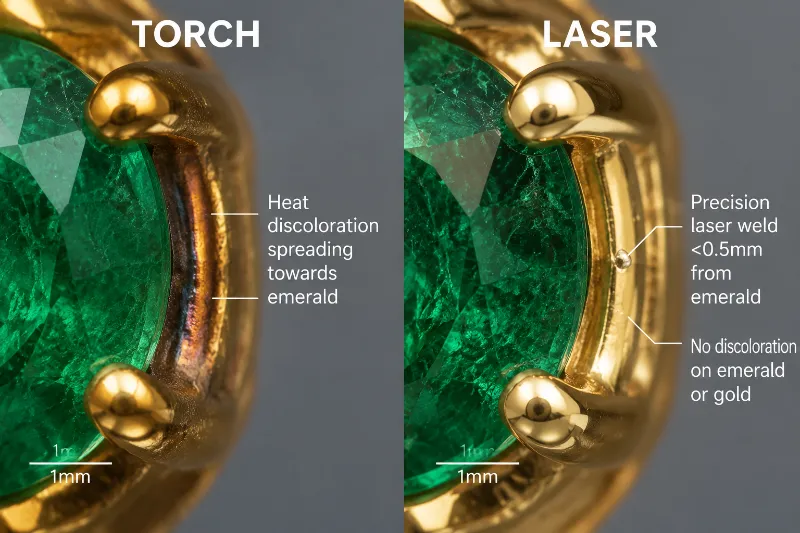
Everyone who has warmed a solder joint next to a gemstone knows that feeling: holding your breath as heat creeps toward a fragile emerald. Desktop microscope laser welders confine heat to a microscopic zone. That control reduces distortion, preserves settings, and cuts rework.
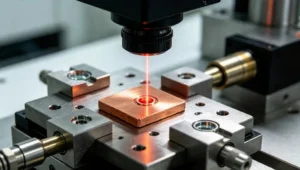
A bench microscope laser welder handles spot welding, prong repair, seam fusion, and micro-fill work. It delivers a small heat-affected zone (HAZ), repeatable results, and less cosmetic cleanup.
The following notes focus on practical outcomes, not marketing specs, so you can adopt a machine into studio flow with predictable results.
Why Every Jewelry Studio Needs a Desktop Microscope Laser Welder
Traditional torch work is imprecise by comparison. Flame heats a broad area and forces you to mask, steady your hands, and pray the stone survives. Microscope laser welding localizes energy and offers visual feedback through magnification, which changes the risk profile for delicate repairs.
For bench-scale production and repairs, benefits are clear: fewer polishing passes, higher first-pass yield, and fewer discarded pieces due to heat damage. Repairs such as prong reshaping, chain link re-closure, and tiny seam welding become faster and more repeatable when done with a focused laser and stable clamping.
Core Features That Ensure Zero-Error Precision
Skip the spec sheet and look for features that actually control heat and positioning. These are the items that determine whether welds stay neat or become costly fixes.
Stereo microscope with adjustable magnification. Use low magnification to position, then switch to high magnification to watch the melt pool form.
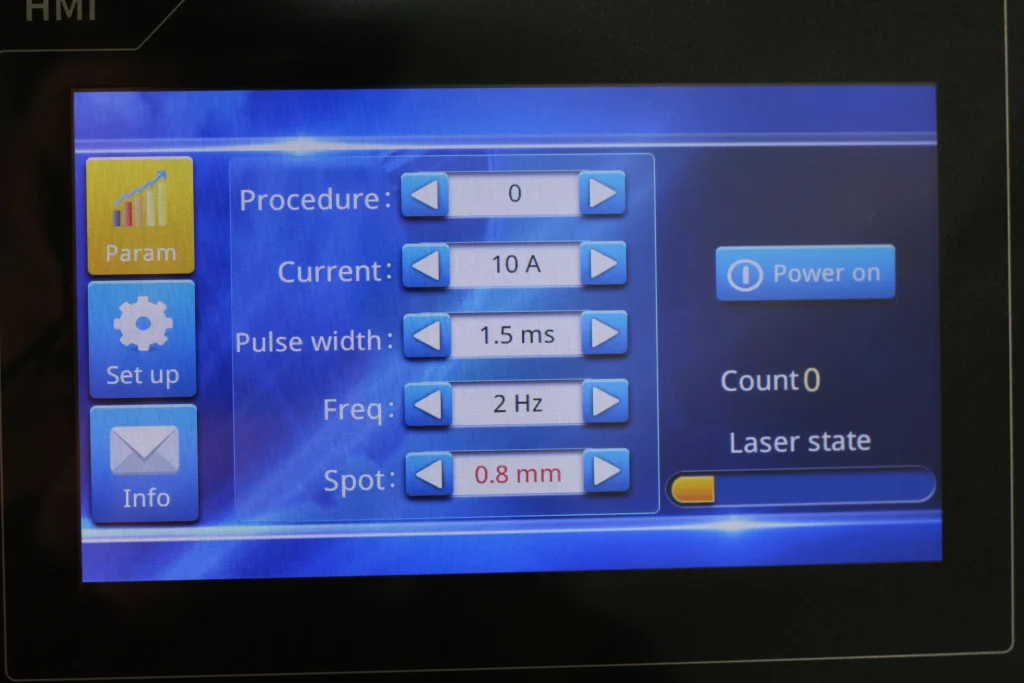
Pulse duration and frequency control. Pulse length controls heat diffusion. Short pulses confine heat. Longer pulses help with filling gaps.
Adjustable spot size. Spot size controls energy density. Small spots for micro-joints. Larger spots for small seams.
Stable fixtures and soft jaws. Prevent movement without scuffing finishes. Repeatable clamping reduces variables.
Inert gas shielding (usually argon). Argon excludes oxygen, prevents oxidation, reduces porosity, and preserves bright finishes.
Parameter memory. Save alloy-and-task presets to eliminate repeated trial-and-error.
Validate a machine by repeating the same preset ten times on identical scrap. A well-engineered unit will produce consistent pool shape, consistent coloration, and a high first-pass success rate.
Essential feature checklist
| Feature | Why it matters | Practical tip |
|---|---|---|
| Stereo microscope with adjustable magnification | Accurate observation and focus control | Use low mag for alignment, high mag for welding |
| Pulse duration & frequency control | Controls heat input and HAZ | Short pulses for spot welding; longer for filling |
| Fine spot-size adjustment | Controls energy density | Small spot for micro-joints |
| Stable fixtures and clamps | Prevents part movement | Use soft-contact jaws to protect finishes |
| Shielding gas control (Argon) | Prevents oxidation and reduces porosity | Adjust flow to create a stable protective envelope |
| Parameter memory | Repeatability | Save presets for common alloys and thicknesses |
Choosing the Right Machine: Power and Configuration Guide
Power labels alone are misleading. What matters is controllable heat input and how the system lets you shape the pulse and spot for jewelry-grade work.
- Pulsed laser systems are suited for most jewelry tasks. They provide high peak power with low average thermal load, so the HAZ stays small.
- For thicker sections or larger fills, increase peak energy or stack pulses, but retain pulsed control. Avoid thinking “more power solves all problems”; uncontrolled average heating ruins finishes.
- Look at microscope quality, spot adjustment range, and fixture compatibility. Those determine daily usability more than nominal wattage.
- For small batch production, prioritize quick-change fixtures, parameter memory, and consistent positioning over raw power.
Below are configuration pointers and practical setup notes by common studio job.
Configuration considerations
| Studio need | Recommended approach | Setup note |
|---|---|---|
| Fine prong repairs | Low–medium energy pulsed, very small spot | Short pulses, low repetition to avoid overheat |
| Seam and shank repairs | Medium energy pulsed, moderate spot | Slightly longer pulses and controlled overlap |
| Micro-braze or inlay fusing | Pulsed with argon shielding | Gas flow and nozzle distance affect oxidation and finish |
| Small batch reproduction | Presets and precision jigs | Template fixtures ensure repeatability |
Different precious metals behave differently. Use these guidance points as starting rules, then validate on scrap.
- Platinum: High melting point and high thermal conductivity. Requires relatively high peak energy with short pulses to form a melt pool quickly and avoid prolonged heating.
- Gold alloys: Thermal response varies with karat and alloy content. Lower-karat alloys can oxidize; short pulses with argon usually give better surface finish.
- Silver: Very high thermal conductivity. Energy spreads quickly. Use smaller spots and shorter pulses to concentrate energy and avoid excessive heat spread.
- Copper alloys and plated items: Coatings may vaporize or delaminate. Run parameter trials on similar scrap to prevent unexpected coating failure.
Always run test welds on representative scrap, document alloy, thickness, pulse settings, spot size, and gas parameters. This record lets you reproduce results later.
Best Practices: How to Operate Your Microscope Welder Safely and Efficiently
Standardize the bench routine. A repeatable pre-check and test sequence prevents most mistakes and saves time.
Pre-work checklist: clean and clamp the part, verify optical alignment and spot centering, set argon flow and nozzle distance, then fire a brief test pulse on scrap to confirm melt pool characteristics (size, color, bead shape).
Maintenance and safety: wear laser-rated eye protection and mark a controlled laser area. Use appropriate local exhaust to remove fumes and particulates. Keep optics clean; even minor contamination changes the beam profile and forces higher energy to achieve the same result. Log each weld’s parameters and outcome to build a practical process library.
Operational checklist and safety matrix
| Step | Action | Why it matters |
|---|---|---|
| Part preparation | Clean and clamp securely | Prevents contamination and movement |
| Optics check | Inspect and clean lenses daily | Maintains beam quality and consistency |
| Test weld | Verify settings on similar scrap | Protects finished pieces and stones |
| Gas setup | Set argon flow and nozzle distance | Prevents oxidation and improves weld appearance |
| PPE & zone control | Use eye protection; restrict area | Laser safety and occupational protection |
| Record keeping | Log alloy → parameters → result | Creates a reliable, repeatable process library |
Turn this checklist into a simple SOP at the bench. Train new operators by running them through the SOP until they can reproduce documented results reliably.
Conclusion
A desktop microscope laser welder is more than a repair tool. It protects gemstones, reduces rework, and raises workshop throughput. It improves finish quality and delivers measurable ROI by cutting labor, waste, and lost pieces.
Reach out to our team to request a tailored parameters sheet, schedule an on-bench demo, or download the product manual and ROI checklist for studio adoption.If you are interested in jewelry laser welding machines, you can also click here to view more laser welding machines.